How to Crop Video in After Effects Swiftly
Q: “I posted this earlier and didn’t get any help. I need to just cut out the black edges of a video. How to crop a video?” – From r/AfterEffects Community of Reddit
After Effects is used to easily create extraordinary motion graphics and visual effects for any type of a video. As it has excellent performance in video editing, it is often used in the post-production process of television production, video games and film making. If you would like to cut out the black edges of your videos but don’t know how to crop video in After Effects, you can refer to this quick and easy guide. Cropping in After Effects is incredibly easy, which only takes a matter of seconds. You can simply read on and follow the step-by-step instructions below.
- Part 1. Crop Video on After Effects
- Part 2. Crop Video on After Effects Alternative
Part 1. Simple Steps to Crop a Video in After Effects
As a matter of fact, cropping video in After Effects is remarkably easy as long as you are clear about every step. If can't, you'd better have a look at following guide right now.
Step 1 Import video and select "Region of Interest" tool

Firstly go to "File" > "Import" > "File..." to add a required video file to After Effects. Next you have to drag it to the new composition and hit the "Region of Interest" tool.
Step 2 Crop video in After Effects
Before you crop the new video composition, the interface is shown as below.
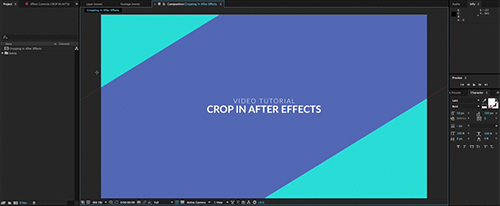
Having pressed the "Region of Interest" tool, you are enabled to create a box around your crop location. At this step, you can adjust the edges to drag a specific area until you are satisfied with it.
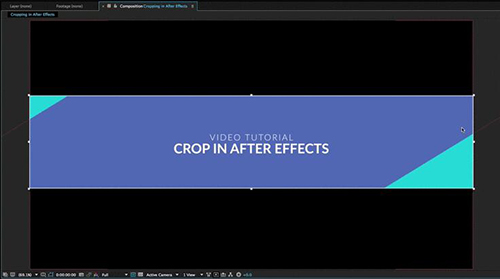
Step 3 Save cropped composition

After selecting a "Region of Interest", you ought to navigate to the top menu bar and click "Composition" > "Crop Comp to Region of Interest". By doing that, your video composition will be automatically produced to the "Region of Interest" box.
Part 2. Dedicated Solution to Crop a Video in Joyoshare VidiKit
Sincerely speaking, cropping in After Effects is sometimes slow, making your computer crash and stopping run suddenly. In this case, a lightweight and compact tool, like Joyoshare VidiKit, is more appreciated for you to utilize. It comes with excellent performance in cropping video in a professional manner. You can feel free to zoom in and zoom out the adjustable cropping frame or directly reset width and height.
Aside from cropping, Joyoshare VidiKit is also good at cutting, rotating, trimming, merging and editing video files. You will surprisingly find that there is no any problem to apply video effect, stylize text and image watermark, insert right subtitles, add background music, change aspect ratio, extract audio from video, make ringtone for iPhone, etc. as per your own preferences. To gratify you, this intelligent tool also opens an access to customize corresponding parameters, like resolution, sample rate, codec, bit rate, channel, etc.
Key Features of Joyoshare VidiKit:
Incredibly flexible to crop video file
Support a huge array of video formats
Specify output format configuration info readily
Come with preview window and auto-play function
Convert video to new format and transfer to portable device
Step 1 Import target video to Joyoshare VidiKit
Run Joyoshare VidiKit on your computer to bring up its main interface. According to the instruction shown on the central section, go to drag and drop the ready video to this program. Or you can click the "Open" button to browse and choose one from local folder.
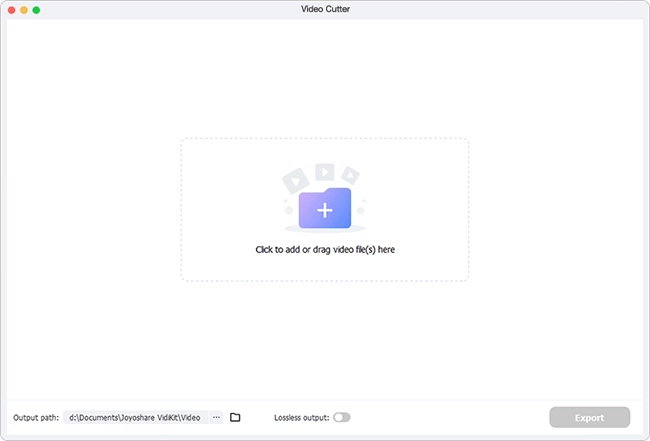
Note: It is not feasible to deal with multiple video files on Joyoshare VidiKit as batch mode is not supported currently.
Step 2 Start to crop video
Once your video is thoroughly loaded, Joyoshare VidiKit will auto-play it for you. You can move the yellow sliders or set the temporal intervals to keep favorite fragment. Then continue to hit the "Show segment list" icon
 and click the edit button
  to do further edit. There is a "Adjust" tab on the top menu bar, from which you can get an adjustable frame to resize cropping area. Of course, you can adopt another workable way to realize it, which is simply typing in exact width and height value in the "Crop Area Size" section.
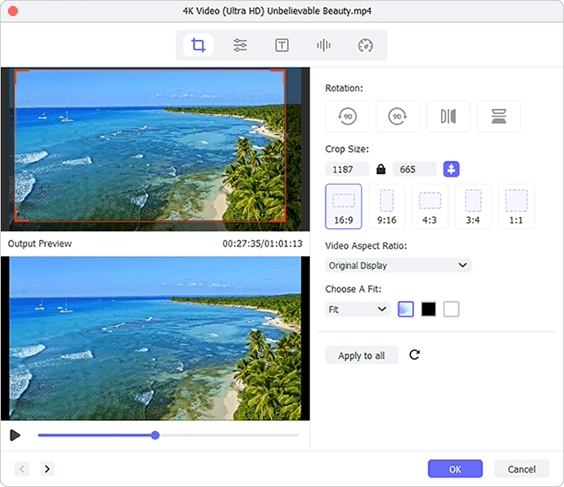
Note: Make sure that the aspect ratio of the cropped video is as same as that of the selected output format. Otherwise, the result will be generated with black bars.
Step 3 Output cropped video
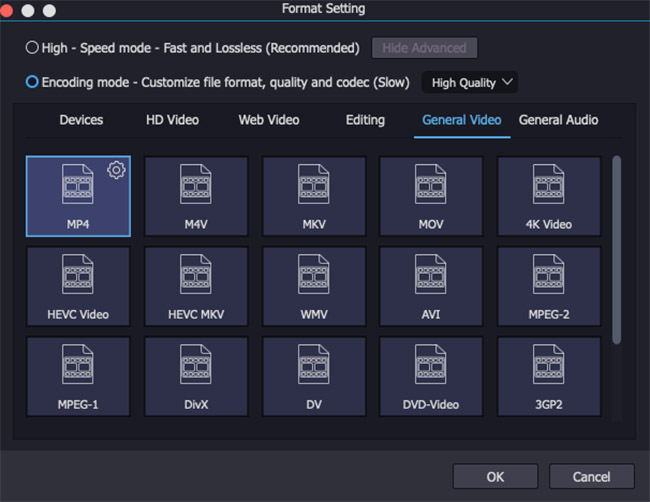
Next you are supposed to close the edit window and press the "Format" panel. The encoding mode will lead you to choose any desired format and customize its configuration, such as resolution, codec, bit rate, channel, etc. Undoubtedly, if you don't want to make adjustments, you can keep the original parameter info and go ahead to click the "Start" button to export a new video file.


Comments
Post a Comment