Quickly Extract Audio from MKV on Mac and Windows
You need to extract audio from video files for other purposes but you have no idea how to make it happen? Below takes MKV as an example to demonstrate how to extract audio from MKV video file on both Mac and Windows. With this reference, extracting audio from any video will be a pushover.
- Method 1. How to Extract Audio from MKV File on Windows
- Method 2. How to Extract Audio from MKV File on Mac
Part 1. Extract Audio from MKV on Win by Using Joyoshare Video Editor
Joyoshare Media Cutter is an easy yet professional video editor developed to process a variety of videos and audios. It can perfectly be compatible with Windows and Mac operating systems and support numerous multimedia formats, such as MKV, MOV, MP4, M4V, DV, MPEG, AVI, WMV, ASF, 3GP, OGV, SWF, ALAC, AU, MKA, MP3, AC3, etc.
It offers a one-stop solution for you to extract, trim, edit audios and videos in a dedicated manner. You can either conduct a lossless task to cut videos at 60X high speed or initiate an encoding mode to edit files in a customized way. Specifically, it attracts you with rotation, watermark, subtitle, effects and more stunning functions.
It offers a one-stop solution for you to extract, trim, edit audios and videos in a dedicated manner. You can either conduct a lossless task to cut videos at 60X high speed or initiate an encoding mode to edit files in a customized way. Specifically, it attracts you with rotation, watermark, subtitle, effects and more stunning functions.
Key Features of Joyoshare Video Editor
Extract audio from MP4, MKV, AVI, etc.
With inbuilt media player, parameter adjuster and video editor
Show both lossless high-speed mode and customized encoding mode
Supported OS: Windows 10/8.1/8/7/Vista/XP and Mac OSX 10.8/10.9/10.10/10.11/10.12/10.13/10.14
Step 1: Add MKV file to Joyoshare Media Cutter

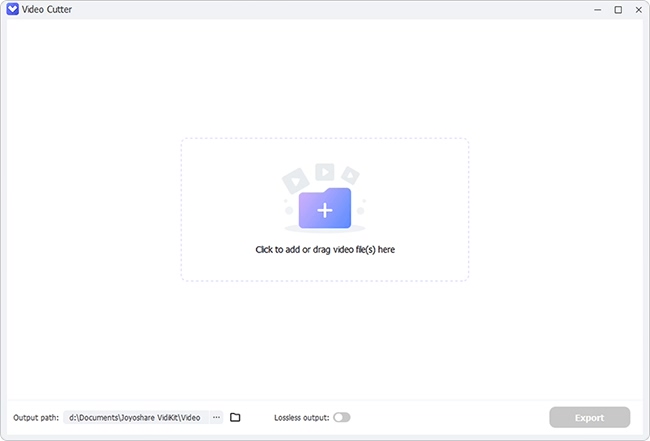
Download and install the newest version of Joyoshare Media Cutter for Windows (or Mac) on your computer. Launch the program > click "Open" button > locate a local MKV video to import. Or you can go direct to drag and drop the prepared MKV file to the main interface.
Step 2: Confirm extracting mode and output format

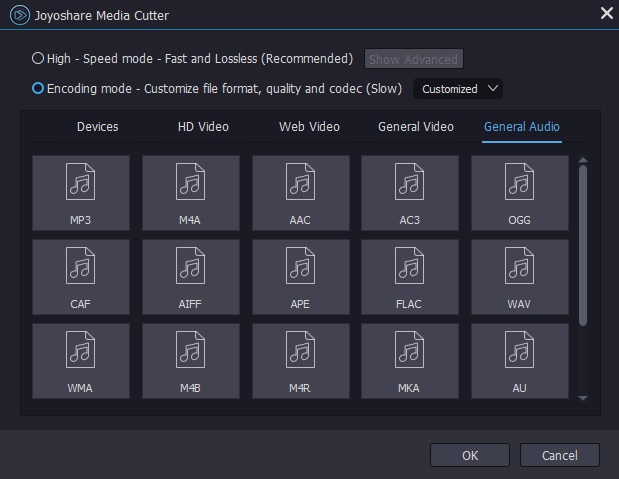
Take you to the "Format" panel to choose a mode extracting audio from MKV and select output format for the audio. There are two available methods: 1) use "High-Speed" mode to losslessly detach audio, which however strictly requires you to pick up the original compatible audio format; 2) use "Encoding" mode to flexibly rip audio, which can give you freedom to choose desired audio formats and do editing operations.
Note: If you are using "High-Speed" mode, you will find that not every time you choose an audio format, the conversion is successful. To avoid this situation and know original audio format, you can firstly check media info with free media player, JoyoPlayer, here.
Step 3: Cut needless sections from MKV video (Option)

After finish format selection, you will be lead back to the main interface where you can cut certain part that you don't want. To do it, you just have to slide the yellow handles or set start and end time. Moreover, you can go to "Edit" tab to make more changes.
Step 4: Export audio from MKV
Once you have done all necessary things for your MKV video, you can now click on the "Start" button to extract its audio track only. Then wait for the progress bar goes end and press the "Open The Output Folder" to check it.
Part 2. Extract Audio from MKV on Mac by Using Free VLC
Being a well-known cross-platform video player, VLC can also extract audio from any kind of supported video sources and output an audio-file in of sorts formats, like MP3, WMV, FLAC, OGG, etc. Here's a Mac example on how to extract audio from MKV video quickly.

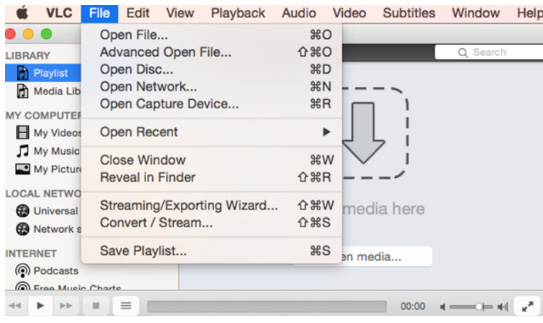
Step 1: Double click the installed VLC media player on your Mac and click "File" tab > "Convert/Stream...";
Step 2: A new window will be shown that allows you to click "Open media..." and add MKV file here;
Step 3: Next, you ought to choose the output format from the drop-down list for your extracted audio and click on "Browse" to set a destination file;
Step 4: Press "Save as File" to rename the detached audio file and set location path. Then, simply tap on "Save" button to wait for audio being extracted from MKV.
For more info, please visit the source page:

Comments
Post a Comment