How to Rip a DVD - Top 3 Ways
Method 1. Rip DVD Video with VLC
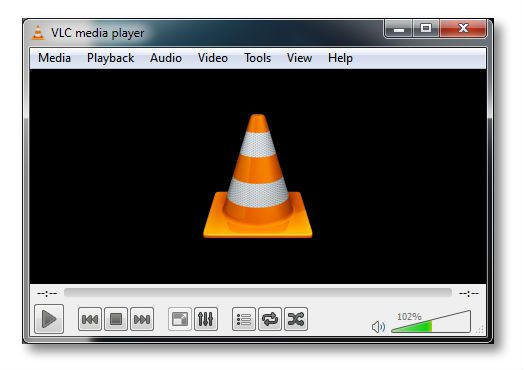
Developed in 2001, VLC may be the most popular media player. Aside from playing different forms of videos, it is also able to rip DVDs to the computer. It is not a fancy DVD ripper with awesome functions, but it is convenient and efficient. To rip DVD with VLC, just follow the steps below.
Step 1: Insert DVD to your computer's DVD drive. Then launch VLC Media Player.
Step 2: Open the Media tab, and then click on the Convert/Save button. In the opened window, switch to the Disc tab, press the Convert/Save button at the right bottom.
Step 3: In the newly opened window, select the codec and particulars you would like to use for the rip under Profile. Then tap the Browse button to set the output location and name.
Step 4: Press the Start button to start the conversion, and after a few minutes you will find the converted video in the destination folder.
Method 2. How to Rip DVD Using HandBrake
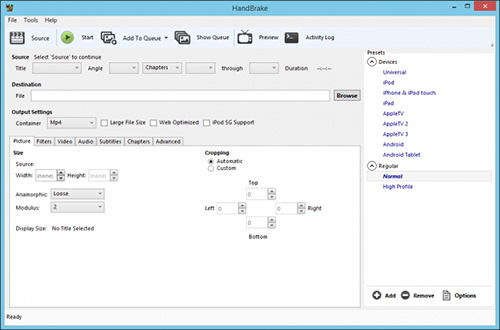
HandBrake is a freeware that can rip DVD (as long as it is not protected). It is a DVD ripper and video converter compatible with Linux, Windows, and Mac OS. Nearly all the formats are available in this program.
Step 1: Insert DVD to your computer's DVD drive. Then launch HandBrake and click "Source" to load your DVD files. This process will take some time. To be noted, HandBrake cannot rip the DVD which is protected;
Step 2: Click "Title" and select the contents that you want to rip. Next, tap "Browse" and customize the saving path of the final video;
Step 3: Select "Output Setting" and choose the target format;
Step 4: Press the "Start" button to rip the DVD.
Method 3. How to Rip DVD to Computer Using Best DVD Ripper - Joyoshare Video Converter
Joyoshare Video Converter is a combination of video converter and DVD ripper. It means while you rip the music or video from the DVD, you can convert them into more than 150 formats. If you are an expert about formats, you can configure codec, bit rate, frame rate and other parameters according to your needs. But if you are not familiar with the formats, the program will still match the format automatically according to the device you select.
In addition, the built-in video editor allows you to trim the video, add special effects, adjust resolution, add watermark or merge all the videos into one. Though the ripping speed is one of the fastest among all the DVD rippers, it will do no damage to the quality of the content, which means the converted content is lossless. As for the videos protected by CSS, Region, PuppetLock, RCE, Sony ARccOS, Joyoshare Video Converter is able to remove the protection.
In addition, the built-in video editor allows you to trim the video, add special effects, adjust resolution, add watermark or merge all the videos into one. Though the ripping speed is one of the fastest among all the DVD rippers, it will do no damage to the quality of the content, which means the converted content is lossless. As for the videos protected by CSS, Region, PuppetLock, RCE, Sony ARccOS, Joyoshare Video Converter is able to remove the protection.
Key Feature of Joyoshare Video Converter:
Rip and convert DVD to MP4, AVI, WebM, etc. losslessly
Conversion speed: 60X
Powerful built-in video editor
Rip or convert multiple videos at the same time
Step 1 Add DVD contents to Joyoshare DVD converter
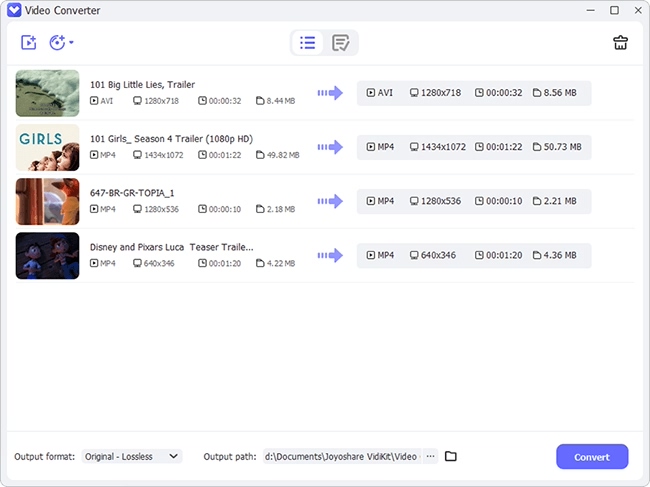
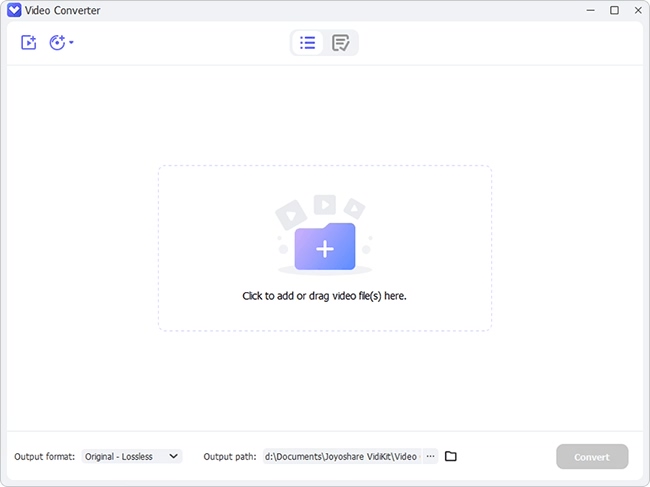
Run Joyoshare Video Converter and insert the DVD disk into the drive. The program will identify the DVD files and load them on the interface shown below. Also, you can load the DVD videos by tapping the disc-shaped icon in the upper-middle and then "Load DVD File" from the drag-down menu. Or you can open the drive folder where the DVD files are stored, and then drag them to the program's window.
Step 2 Configure output format
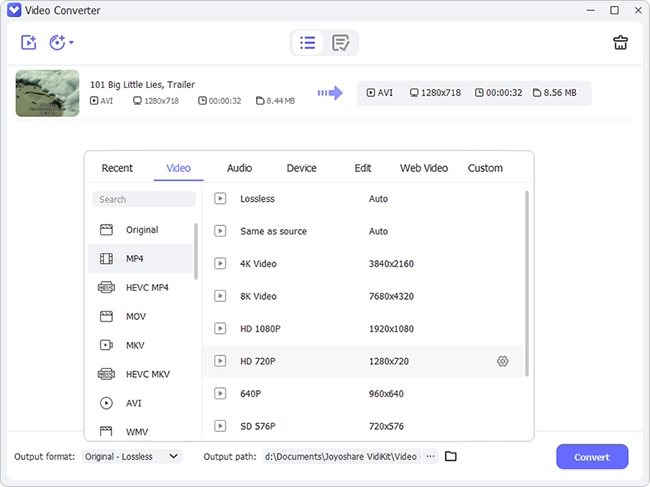
Configure the format by clicking the "Format" button. Then, you can pick the wanted format under two converting modes, which are "High-Speed mode" and the "Encoding mode". If you want the conversion to be fast and lossless, you can choose "High-Speed mode". However, if you intend to edit DVD files before converting, "Encoding mode" is the one you should choose.
Step 3 Edit DVD video (optional)
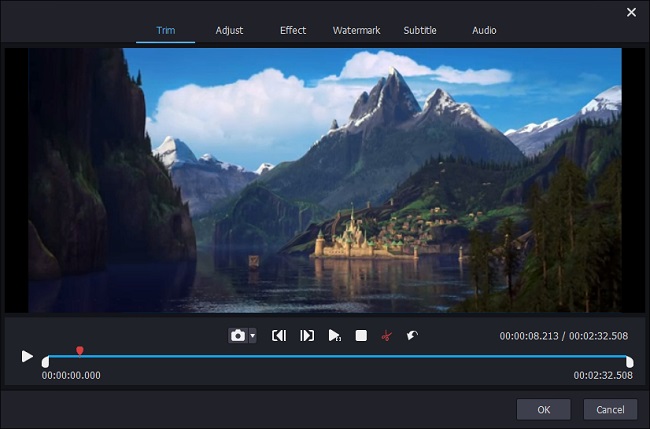
If needed, you can open the built-in video editor to edit the DVD videos by clicking the edit button at the rear of each video. And once again, you need to choose "Encoding mode" in the last step to edit the video. If you don't want to edit the video, you can skip to the next step directly.
Step 4 Start ripping DVD to converter
With all the preparation completed, you can now actually rip the DVD. Find the "Convert" button at the right bottom and press it, you can merge all DVD videos into one by checking "Merge all into one file" on the left of the "Convert" button. Finally, click "Converted" to view the ripped videos.
For more info, please visit the source page:

Comments
Post a Comment