3 Methods to Trim MP3 on Windows 10
For anyone who loves music, it's fun to cut out the highlights for sharing or as a ringtone. You can also make room for more attractive MP3 files by removing the one in big size and only keeping the special parts. Want to try it out right now on your Windows 10? Just follow us and move on to the offered guide here to learn how to trim MP3 in Windows 10 with 3 different ways, including MP3 trimmer, Windows Movie Maker and VLC Media Player.
Part 1. How to Trim MP3 on Windows 10 with Joyoshare Media Cutter
Joyoshare Media Cutter is not only a video cutter, but also a smart and easy-to-use audio trimmer. With the program, you can easily to trim any audio file at a super fast speed without causing any quality loss. Joyoshare Media Cutter enables you to split large audios into smaller segments, remove unnecessary parts of audio file, make ringtone for Android, iPhone and other smart phones, join multiple audio clips into a single one.
Besides MP3 format, the software also supports almost all the common audio formats including FLAC, AIFF, M4R, AU, MKA, WAV, WMA, APE, OGG, AAC, AC3, M4A, etc. You can export the trimmed audio file onto various other portable devices such as Apple iPhone, iPad, iPod touch, Galaxy S8, smart TV, game console, etc. Additionally, Joyoshare Media Cutter offers other powerful editing features, such as add special sound effects, extract audio from video, adjust the channel, sample rate and bit rate, etc.
Besides MP3 format, the software also supports almost all the common audio formats including FLAC, AIFF, M4R, AU, MKA, WAV, WMA, APE, OGG, AAC, AC3, M4A, etc. You can export the trimmed audio file onto various other portable devices such as Apple iPhone, iPad, iPod touch, Galaxy S8, smart TV, game console, etc. Additionally, Joyoshare Media Cutter offers other powerful editing features, such as add special sound effects, extract audio from video, adjust the channel, sample rate and bit rate, etc.
Remarkable Features of Joyoshare MP3 Trimmer:
Trim MP3 files with original quality intact
Cut and convert MP3 at 60X faster speed
Export trimmed MP3 file into many other formats
Contain powerful audio editing tools
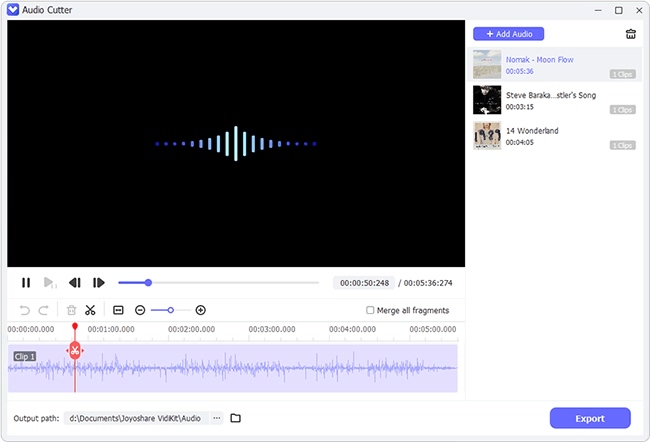
Step 1 Import your target MP3 file to Joyoshare
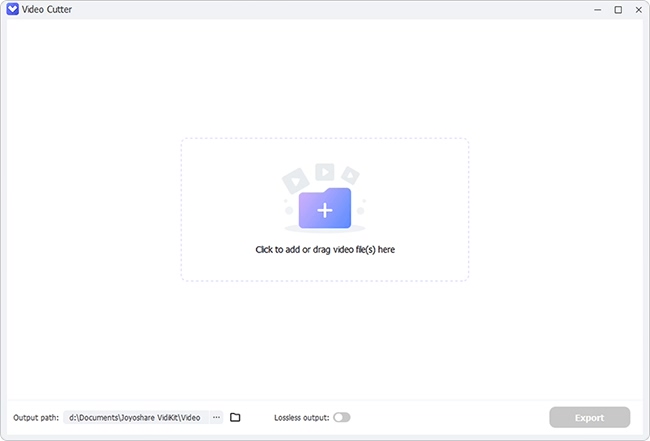
First of all, please launch Joyoshare Media Cutter for Windows on your PC. Add an MP3 file that you'd like to trim by clicking the "Open" button or just drag and drop the file to the program.
Step 2 Determine the cutting segments

You can simply move the yellow sliders to select the starting time and ending time or enter the specific duration in millisecond precision. Alternatively, you can click the edit icon  next to the file and trim the MP3 file in the same way. Remember to press the scissor icon
  to trim MP3 before closing this new window. During the trimming process, you're always freely to pre-hear the music file, so you can know clearly every time you make a change.
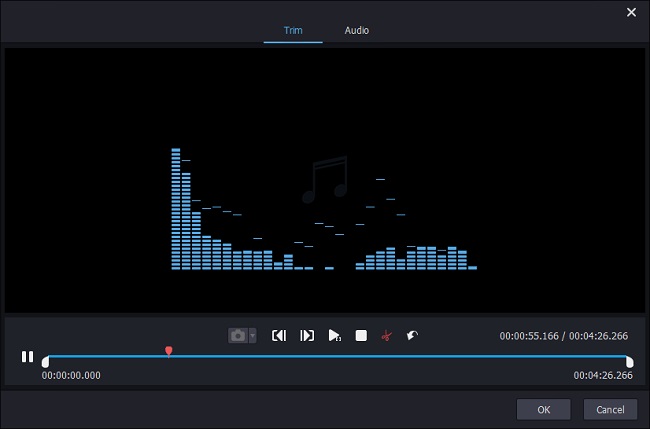
Note: You are also allowed to add one more or many audio copies to trim and get other important parts you desire, by clicking the "+" button. Then tick the "Merge Segments" box to join the audio clips together if necessary.
Step 3 Choose the output mode
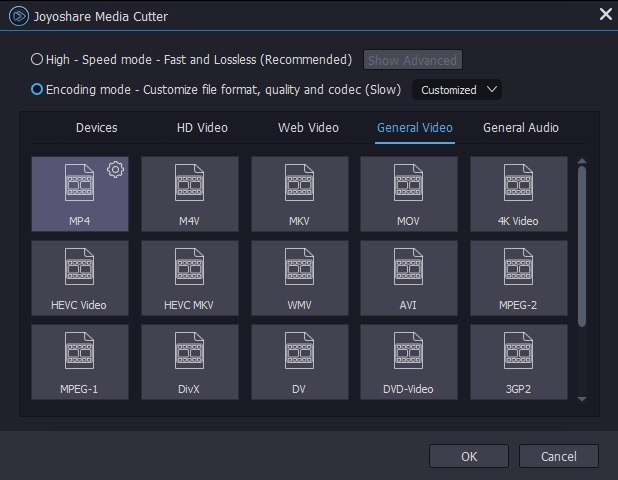
Then click the "Format" button, and it pops up a new window and offers two output options for you. If you only do the basic trimming, we highly recommend you to select the "High-speed mode" that will trim and convert MP3 file losslessly and fast. Otherwise, if you also add some more edits for your MP3, you should choose the "Encoding mode" and also find a preferable output format. Then hit the "OK" button to shut down the window.
Step 4 Start to trim an MP3 file
Now click the "Start" button and begin to trim MP3 on Windows 10. Wait a while until the conversion is completed. Then you can find your new audio file by browsing through the destination folder  .
.
 .
.Part 2. How to Split an MP3 File in Windows Movie Maker
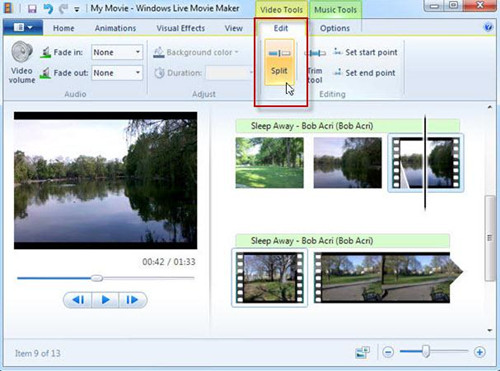
If you're a Windows user, you probably have Windows Movie Maker pre-installed on the computer. So, it is also a good choice for you to trim your MP3 files without any other software installation again. Cutting an MP3 with Windows Movie Maker only needs 3 simple steps and here is how:
1. Add MP3 music file. Launch Windows Movie Maker program first and then click the "Add Music" option to import an MP3 file you want to trim;
2. Trim MP3 file. Right click on the audio file and choose "add to Timeline", or just drag the file to the Timeline. Set the start trim point and end trim point by dragging the cursor;
3. If you're satisfied with it, save the trimmed audio in .wma format; if not, redo it again.
Part 3. How to Cut an MP3 with VLC Media Player
The third solution to trim an MP3 file on Windows 10 is to use VLC Media Player. Well-known as a player, it actually works well as an audio trimmer. With the app, you can trim audio clips by recording the desired portions of your MP3 file. Just follow the quick steps below to see how to cut an MP3 file with VLC media player:
1. Open VLC media player on the PC, go to "View" > "Advanced Controls";
2. Click on the "Media" >"Open File" to import your target MP3 file or just drag-and-drop the file to VLC;
3. Now play the MP3 file and record the segment using the built-in audio recorder;
4. After recording the wanted part, press the "Record" button to stop the recording, and the trimmed MP3 file will be saved in "My Music" folder on your computer.

https://www.joyoshare.com/video-cutting/trim-mp3-windows-10.html
You May Also Like:
Best 6 Free MP3 Cutter Software for Mac and PC
How to Use VLC As Video Cutter to Cut Video Clips for Free

Comments
Post a Comment